How to Grow Microgreens Indoors (UK Beginner's Guide)
Grow microgreens indoors in the UK in 1-3 weeks: which seeds to start with, how to sow densely, light and watering, and when to snip your first tray.
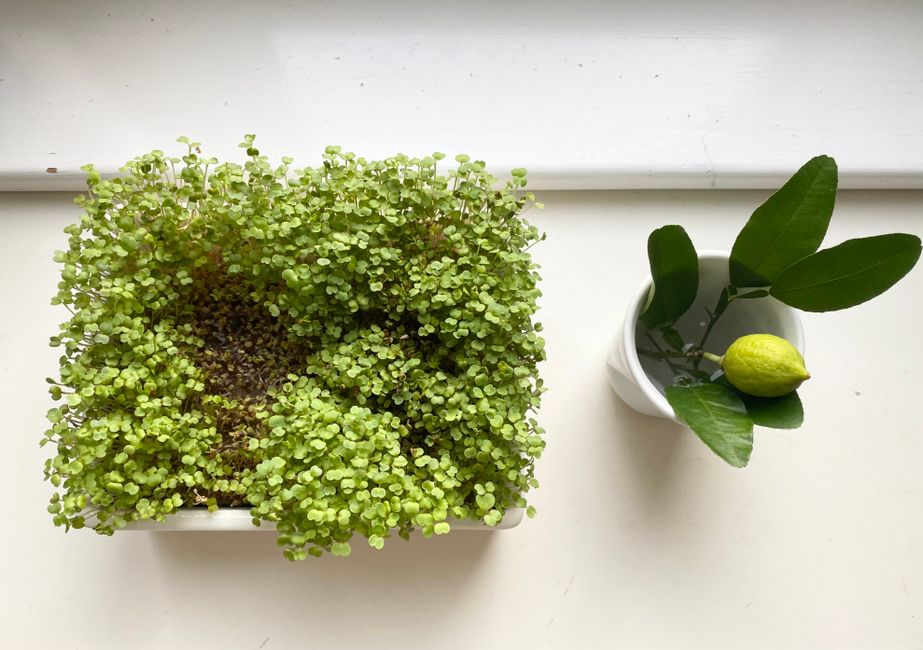
Microgreens are the fastest edible crop you can grow on a UK windowsill. A tray of radish or pea shoots goes from dry seed to harvest in one to three weeks, no garden required, and the whole setup fits on a sunny sill. They pack a real nutritional punch, need almost no equipment, and forgive most beginner mistakes. This guide walks through every step, from choosing your first seeds to snipping the harvest.
What are microgreens?
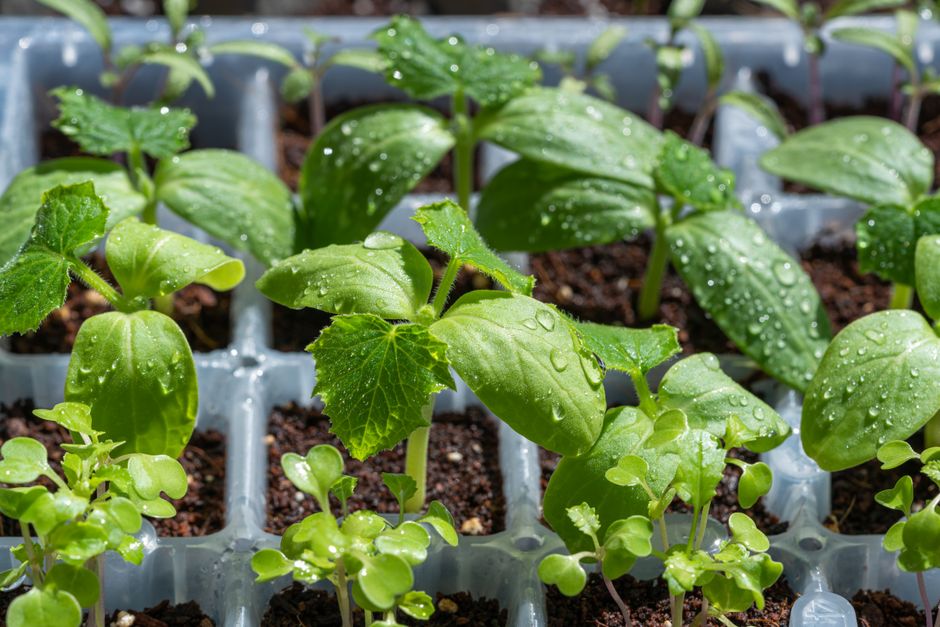
Microgreens are young vegetable and herb seedlings, harvested just after the seed leaves (the cotyledons) open and the first true leaves begin to show, usually when the plants are 3-8 cm tall. They sit between a sprout, which is eaten whole after a few days including the root, and a baby leaf, which is grown on for several weeks. You snip microgreens off at soil level and eat the tender stems and leaves raw.
They earn their windowsill space for more than novelty. A widely cited study from the University of Maryland found that many microgreens carry higher concentrations of vitamins and carotenoids than the same plants grown to maturity, in some cases around five times more (University of Maryland, 2012). For a plain-English primer on what does and does not count as a microgreen, the Wikipedia entry on microgreens is a solid starting point.
What do you need to grow microgreens indoors?
The kit list is short, and most of it you probably already own:
- A shallow tray with drainage. A seed tray works, but a clean takeaway container or fruit punnet with a few holes poked in the base is fine.
- A growing medium. Peat-free multipurpose compost or coir (a coconut-fibre growing medium) both work well. You only need a thin 2-3 cm layer.
- Seed. You can buy dedicated microgreen or sprouting seed, or use ordinary vegetable seed bought in bulk. Because you sow so densely, buying larger packets keeps the cost down.
- A spray bottle for gentle, even watering.
- Light. A bright windowsill for most of the year, or a small LED grow light for dim rooms and midwinter.
No heat mat, no propagator, and no fancy equipment are required to get a first tray going.
Which seeds are easiest for beginners?
Start with fast, forgiving varieties before you branch out:
- Radish is the classic first crop: it germinates in a day or two, grows vigorously, and is ready in about a week with a pleasant peppery bite.
- Pea shoots are sweet and crunchy, ready in 10-14 days, and the one common microgreen that reliably gives a second cut.
- Broccoli and kale are mild, nutritious brassicas that grow evenly in 10-14 days.
- Sunflower gives thick, nutty shoots; soak the large seeds overnight first.
- Mustard and cress are among the fastest of all and great for children to grow.
Leave the tricky ones until you have a few trays behind you. Mucilaginous seeds such as chia, basil and rocket form a jelly-like coating when wet and need a firmer surface and misting rather than watering, so they are easier once you know the rhythm.
How do you sow microgreens step by step?
Fill and firm the tray
Add 2-3 cm of moist peat-free compost or coir to a shallow tray with drainage holes. Level it and firm it gently. A flat, even surface gives even germination.
Sow densely
Scatter seed thickly so it almost covers the surface, far denser than you would sow normal plants. Press lightly so each seed touches the compost. Do not bury the seed under more compost.
Mist and cover
Water with a fine spray until evenly moist, then cover with a second tray or lid to start the blackout period, a few days in the dark that makes the seedlings stretch tall and root down.
Keep moist for 3-5 days
Check daily and mist if the surface looks dry. Most seeds germinate within two to four days under cover.
Uncover and give light
Once the shoots are 2-3 cm tall and lifting the lid, move the tray to a bright windowsill or under a grow light. Pale shoots green up within a day.
Water from below
After uncovering, water into the base of the tray rather than over the leaves to cut the risk of mould. Keep the compost damp but never waterlogged.
Harvest
Snip just above the soil line with clean scissors once the first true leaves appear, usually 7 to 21 days after sowing.
How much light do microgreens need?
Less than you might think. A bright windowsill is usually enough, even a north-facing one, because you harvest microgreens long before they need strong light to flower or fruit. South- or west-facing sills give faster, sturdier growth.
In a dim room or through the darkest UK winter weeks, a small LED grow light run for 12-16 hours a day stops shoots going pale and leggy. If you want to understand why the colour of that light matters, our guide to grow-light spectrum explains it simply. Microgreens are also one of the best crops for a genuinely low-light spot, which is why they feature in our north-facing balcony planting list.
How often should you water them?
Little and often is the rule. During the blackout period, mist to keep the surface damp. Once the tray is uncovered, water into its base every day or two so the compost stays evenly moist.
The biggest beginner mistake is overwatering, which invites mould and damping off (a fungal collapse of seedlings at soil level). Watering from below, giving the tray some airflow, and not sowing quite so thickly next time prevent almost all of it.
When and how do you harvest?
Most microgreens are ready 7 to 21 days after sowing, once the cotyledons have fully opened and the first true leaves are showing. Snip a handful at a time just above the compost with clean scissors, rinse, and eat within a few days for the best texture and flavour.
Despite the name, most varieties are not cut-and-come-again: you take one main harvest, then compost the spent roots and re-sow. Pea shoots are the reliable exception. Leave 2-3 cm of stem and many will push out a lighter second cut before they tire.
Is growing microgreens cheaper than buying them?
For most growers, yes, and by a wide margin once you are past the first sowing. A shop-bought punnet holds only a small handful and is priced at a premium per gram. A single seed packet, sown densely, fills a whole tray, and buying sprouting seed in bulk brings the cost per tray down further still.
The only ongoing costs are seed and a little compost. A windowsill needs no electricity at all, and even a small grow light draws just a few watts. Set against the price of the punnets you would otherwise buy, a tray typically pays for itself within its first couple of cuts.
Frequently asked questions
How long do microgreens take to grow?
Do microgreens grow back after cutting?
Do you need a grow light to grow microgreens?
Are microgreens actually healthy?
What is the easiest microgreen for a complete beginner?
Grow Light Spectrum Explained Simply
What to Grow on a North-Facing Balcony
Do You Need a Mini Greenhouse for a Small Patio?